
France has the baguette, Italy has focaccia and India has naan, but do you know what the staple bread is in Israel? You guessed right: it’s the pita bread! Perfect to dip in hummus or to stuff with any meat or veggie, especially some crispy falafel balls, the pita is surprisingly simple to make at home.
If you’re a beginner at the art of baking, this recipe is a no-brainer. It does come with one warning: these round pockets of baked dough are addictive!
Pita bread
PrintYield20
Ingredients
- 2 lbs white flour
- 1 ½ tsp salt
- 2 tsp sugar
- 1 ½ tbsp dry yeast
- 3 tbsp vegetable oil
- 3 cups water
Instructions
- Sift the flour into a large mixing bowl. Add the sugar, salt and yeast and stir until a sticky dough forms.
- Add the water and oil and keep mixing on low speed for eight minutes.
- Sprinkle a little bit of flour on the top of the dough, cover with a clean cloth or plastic wrap and let the dough rise until it's doubled in size (about one to two hours, depending on room temperature).
- Gently deflate the dough and turn it out onto a lightly floured work surface. Divide the dough into 20 equal pieces.
- Cover the round pieces of dough with a dishcloth and start to flatten one at a time. With a floured rolling pin on a floured counter, roll the dough into a circle about six inches wide and about an inch thick. It's important not to make the pita circles too thick or thin and to make sure that all the pieces are even in their thickness – this will ensure the much-desired pocket you want.
- Cover the rolled-out pitas with a dishcloth for an additional 15 minutes.
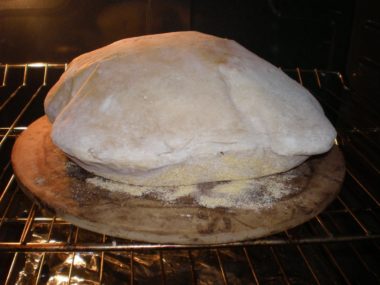
- While waiting, heat the oven to 480°. Put the pitas on a large baking sheet lined with baking paper and place it on the middle rack.
- Bake for about five minutes, until the pitas start to puff and become fully bloated.
- Take the pitas out of the oven while they are still pale and not too brown and immediately cover them with a dishcloth.
- Wait until the pitas are fully cooled, then slice at one end to form a pocket. Now they're ready to stuff with your favorite fillings and serve!

Notes
While at room temperature the pitas will stay fresh for one day, but they can be frozen for up to a month if wrapped and sealed properly.
For whole-wheat pitas, just replace the white flour with finely ground whole-wheat flour.